I’m one of the organisers of UX Glasgow and during our latest event we talked about accessibility. It wasn’t recorded on the night but I made a video of the part I talked through after the event.
I had added manually subtitles in Youtube before for short videos but this one was 36min long, so I tried a different thing.
Note: there is a lot already on the subject in various blogs out there. I recommend reading this post by Ahmed Khalifa (Hear me Out): How to organise and run an awesome deaf accessible virtual event?
The presentation
I like to use Google slides, it’s easy to add your speaker notes, to collaborate with others on it, to share them or export them in different format.
Tip: leave some space at the bottom of your slides so the future subtitles do not overlap with the text on your slides.
Share a link to your slides at the start of your live presentation, that way, people can adjust on their own device if it’s better for them and follow at their own pace. Add alt text to your images (describe them while presenting as well) and make sure there is a heading per slide.
More advice about making your presentation accessible:
- How to make your presentations accessible to all – W3C resource
- Presentations – Readability Guidelines – by Content Design London
- Make your PowerPoint presentations accessible to people with disabilities – Microsoft support
- Create better conference slides and presentations – Stephanie Walter
How to record yourself
Ok so now that you have your presentation, you can record yourself. There are different ways. I have a Mac so I used Keynotes. But you can also record yourself with powerpoint or just create a Zoom meeting for yourself and record it. If you go with this last option, don’t record the autogenerated captions from Zoom: they might not be accurate, and even though some people will find having captions useful, it can be distracting for others.
Prefer closed captions (the person watching the video can decide to see them or not) to open captions (there are embedded in the video, you can’t remove them)
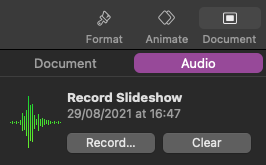
I’ve recorded myself using Keynotes (I exported my google slides as a powerpoint, this keeps the speaker notes but double check all the slides are still ok though) – in the top right menu, select Document, and then Audio and finally Record. After that, it’s a common interface, you can pause/resume, you can also clear it and start again if needed.
Then you just need to export as a video. You can compress it if you want with various tools, and then upload to Youtube.
Adding the subtitles
There are different ways do to it. You can check this Twitter thread by Tara Voelker for different options.
You can do it manually on Youtube, for a short video that might be the quickest option. You can let Youtube generate captions and then correct them. I used a 3rd option: upload a text file.
I usually write what I will say in a presentation, either on the slides themselves or in the speaker notes. So it took all these pieces of texts and copy pasted all that in a single text file.
Problem: I tend to deviate a bit from the text. So there are still some corrections to do.
Pro and cons of adding your subtitles
- it takes a lot of time
- you hear yourself a lot (I don’t like that)
But …
- if done ahead of presenting ‘for real’, it’s an excellent preparation, you learn it that way, you know how long it will take and you can start to feel a bit more ‘natural’
- and of course: more people can access your content
Steps I followed
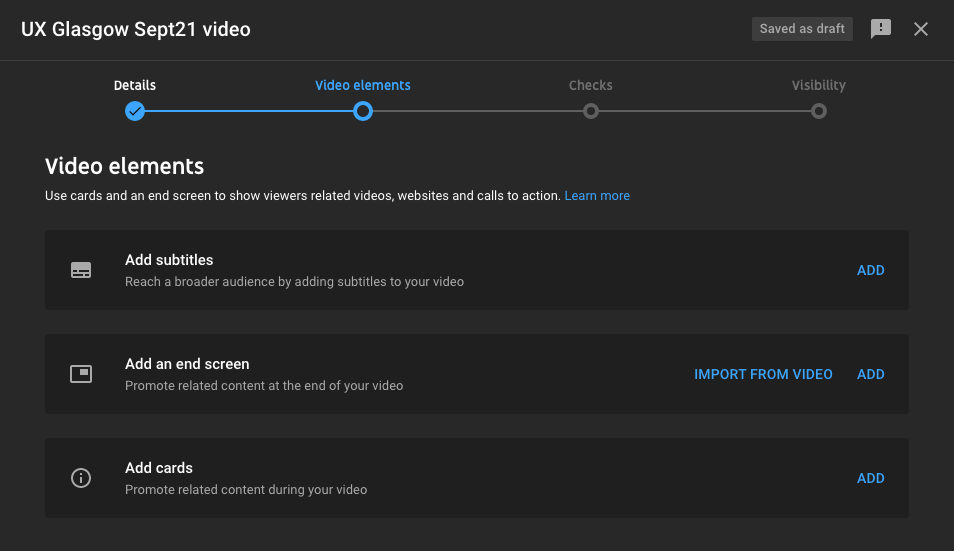
Once you’ve uploaded your video on Youtube, you’ll be taken through various steps. On the ‘Video elements’ screen, you can select Add subtitles.
You’ll be presented with 3 options:
- Upload file
- Auto-sync
- Type manually
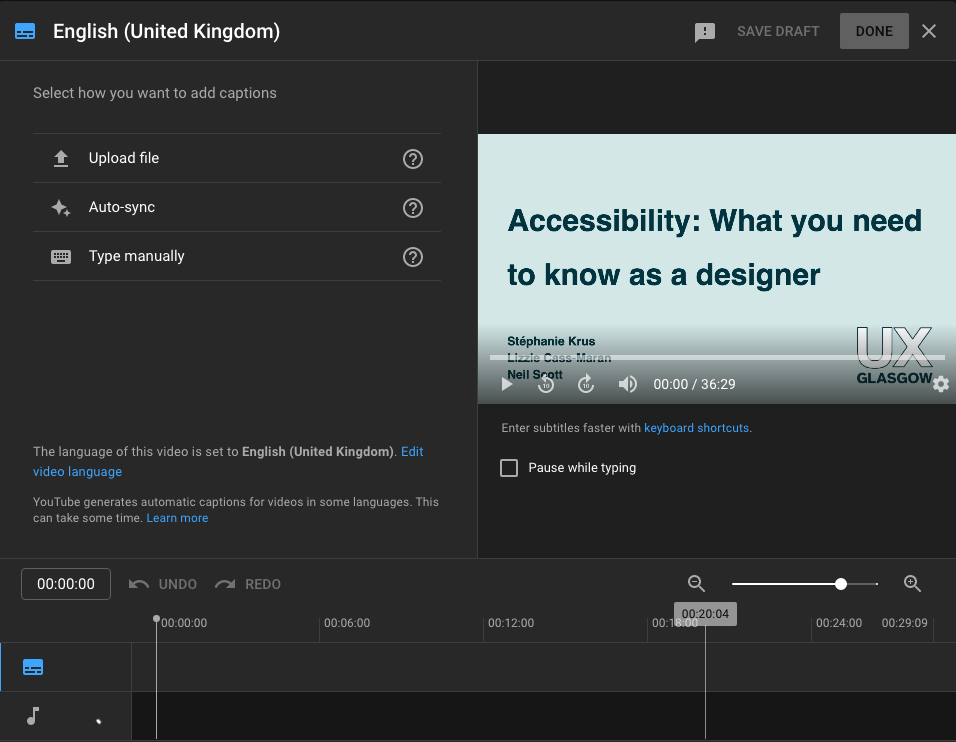
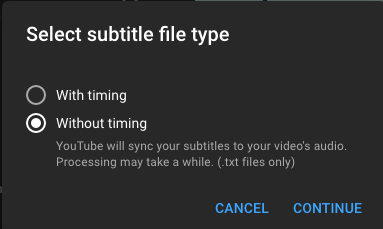
I chose to upload a text file, which didn’t have timing
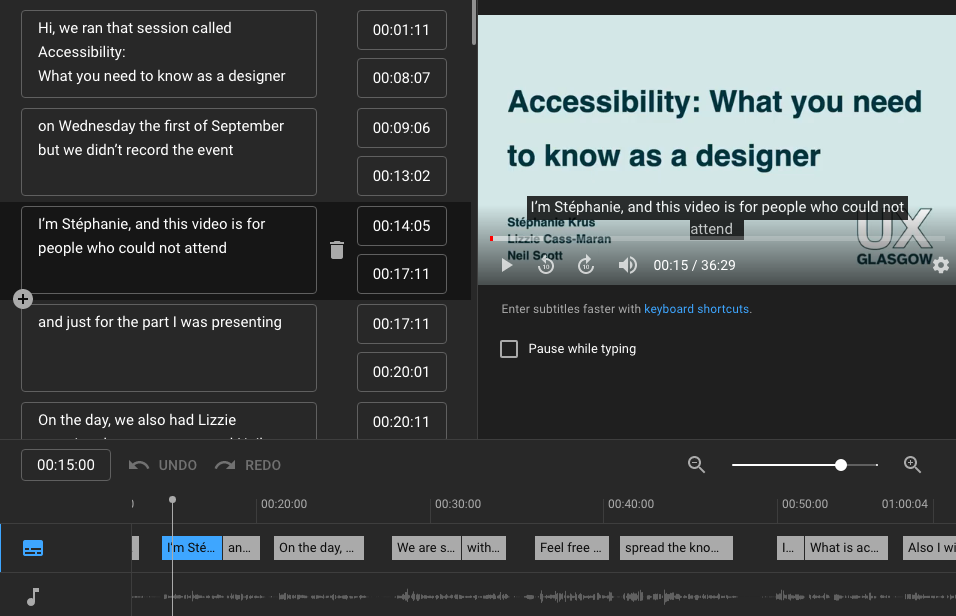
Your text will appear in a window pane next to your video.
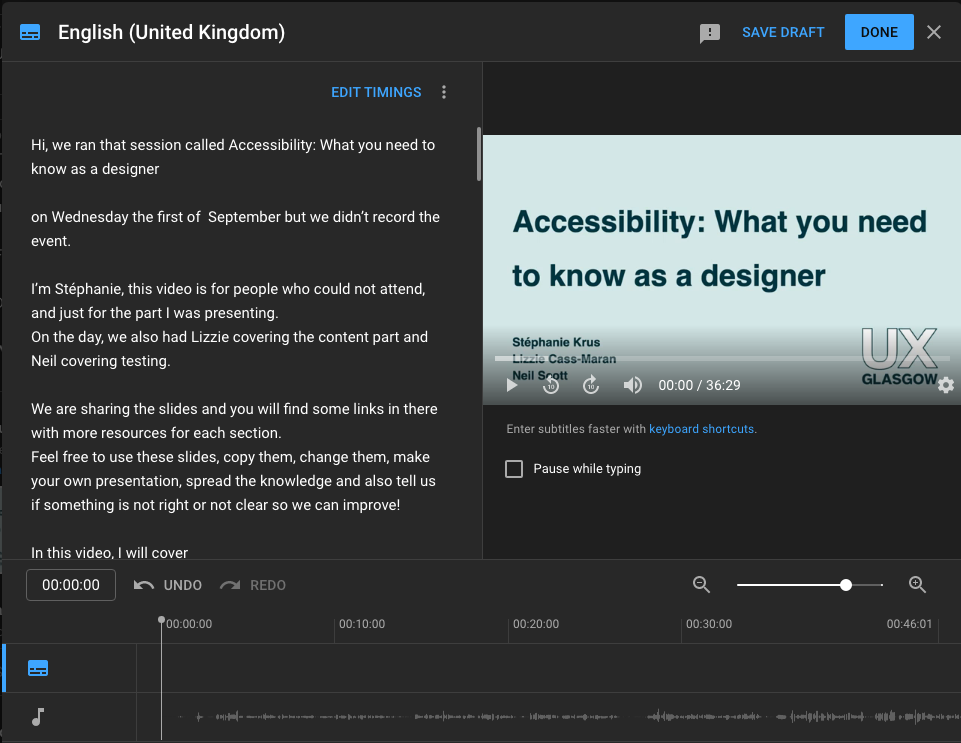
You need to adjust the timing – select Edit timings. It takes a bit of time, Youtube will automatically match your text to what is said in the video – but there might be some inconsistencies to fix. You can follow in the panel, but also on the audio track at the bottom.
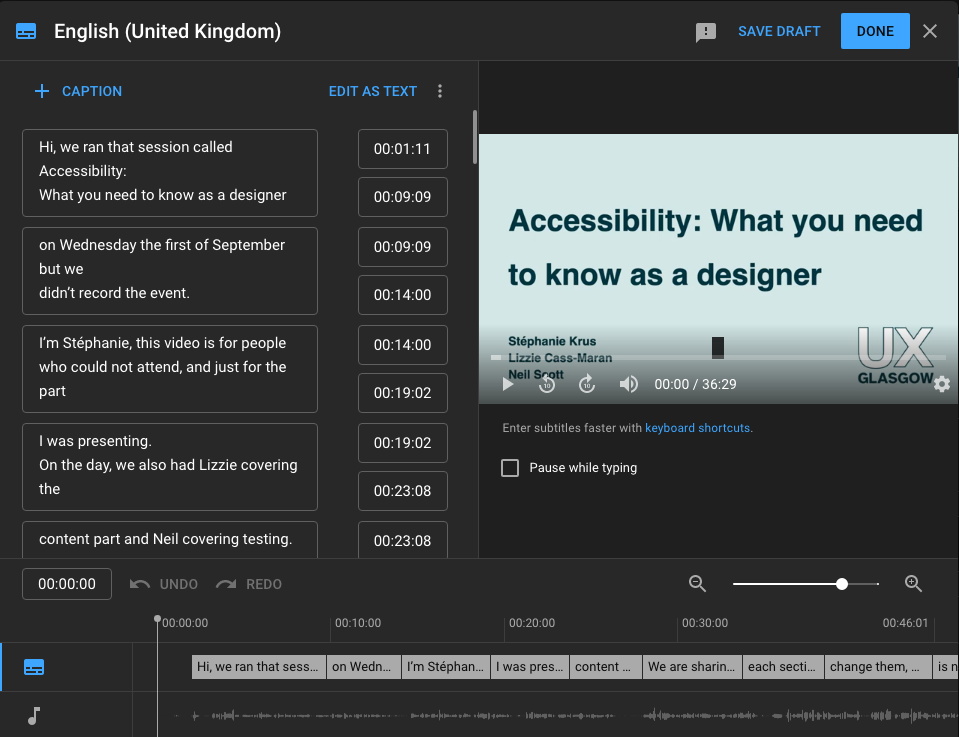
Try to make units of text that make sense on their own, not too long to read, but not too short either. They should appear on screen when you say them and stay long enough so people have time to read them.
It takes a bit of time to learn and balance and I’m not an expert, so I hope I got this about right but if not, do tell me!
If you still have any doubt about why adding captions is a good thing:
More on captions:
- W3C accessibility: Audio content and video content
- Easy captions for content creators
- Captions and transcripts and audio descriptions, Oh My!
- How to add closed captioning to a video – and what I Learned
Creating the transcript
I was going to create a transcript, but then I realised that Youtube created one based on my captions. It is timestamped and displayed in a window under the video on the right.
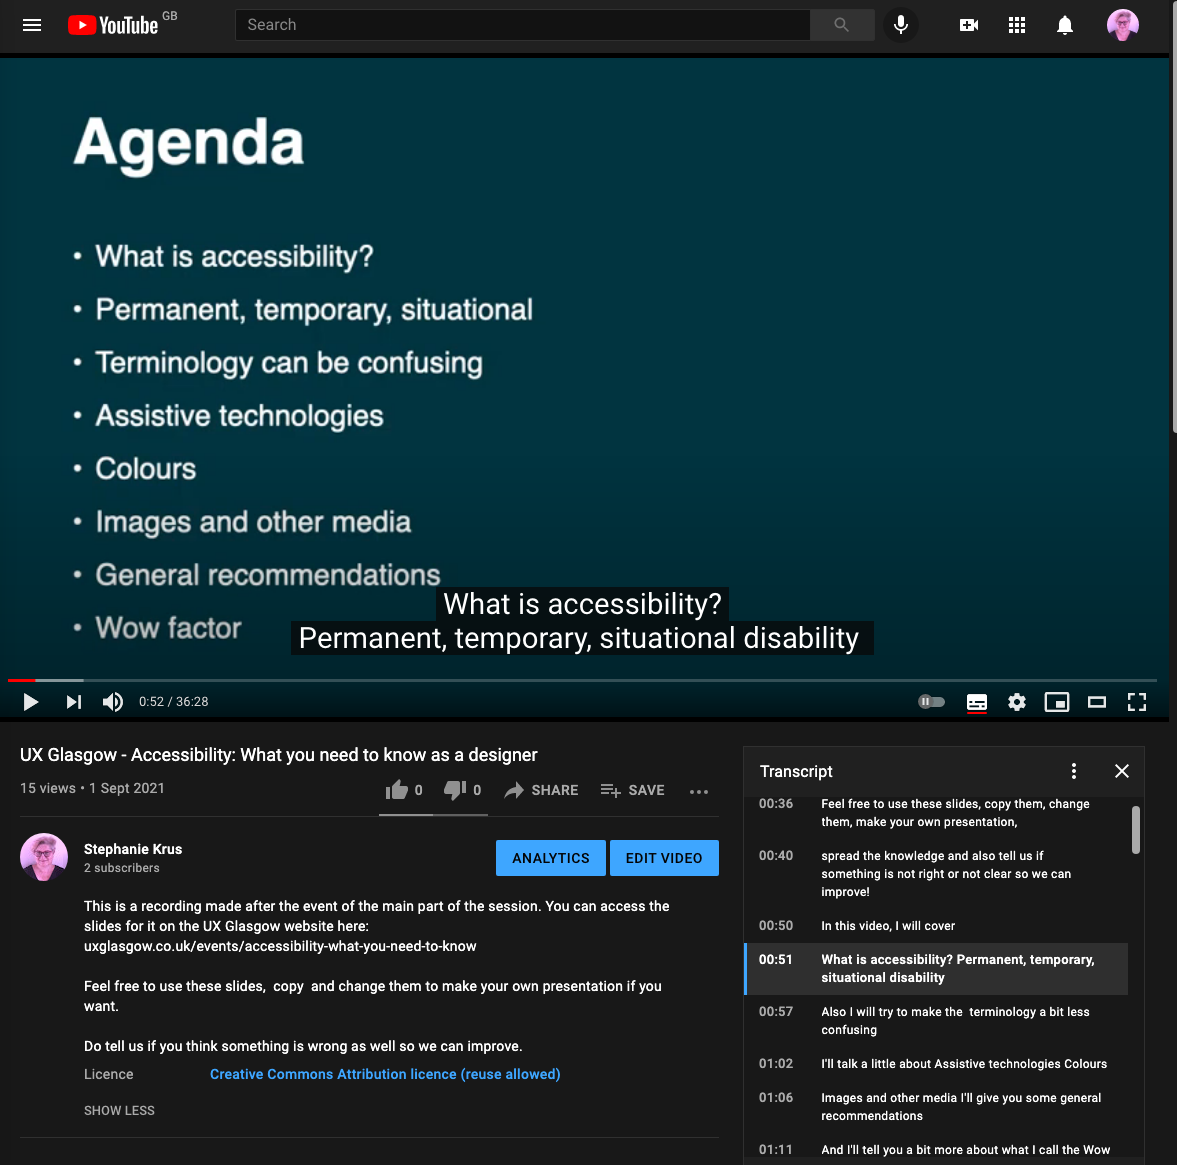
There’s still probably some value in adding the transcript as text on the UX Glasgow page. I can copy/paste from Youtube, and then keep the timestamp and reformat a little.
People use transcripts for various reasons
- you can search it (with Ctrl + F) and it’s quicker to read it than to listen to it
- easy to use if your broadband is not great (compared to a video)
- if you are deaf blind, that’s the way you can interact with the content with a braille reader
- you can quickly scan the content before engaging with it
Different formats for transcripts:
Text only with headings no timestamp
Like Lizzie did as a blog post for the talk she presented at the UX Glasgow event. It’s easy to read, and is a really good alternative to watching the video, whether you use a screen reader or not.
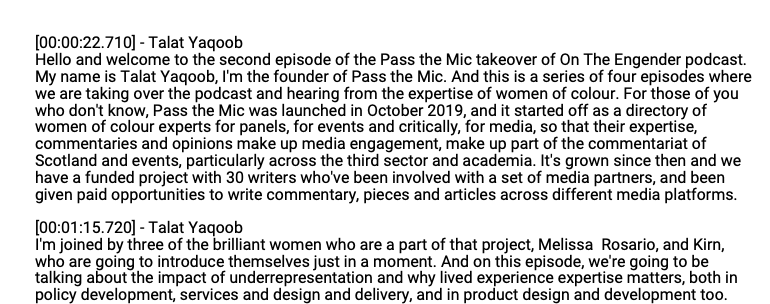
Text with timestamp and saying who is speaking
Like the transcript you can access for the On the engender podcast.
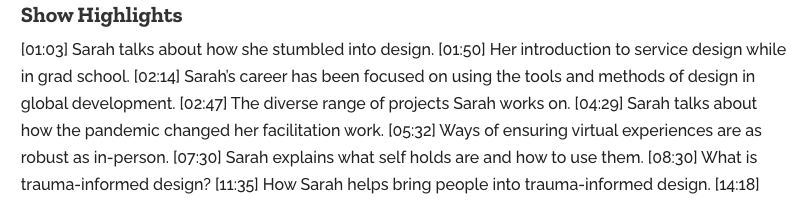
Not all the text, but a summary with times in square brackets
If you want to jump to the part you want to hear more from, like in this interview about Trauma-Informed Design + Participatory Design Perils + Research with Vulnerable Populations with Sarah Fathallah.
They all serve a different purpose
There are pros and cons for each version I can see as a seeing/hearing person, but I’m sure a deaf blind person would have different pros and cons.
So as always, the best you can do is try different formats, do your best, and ask for feedback so you can improve and address potential issues for your audience.
Edit 20/04/22: Word is your best friend if you want to create a transcript from an audio file. The result is not perfect but even with my accent, there is not so much re-work to do.